低代码平台前端的设计与实现(一)构建引擎BuildEngine的基本实现
这两年低代码平台的话题愈来愈火,一眼望去全是关于低代码开发的概念,鲜有关于低代码平台的设计实现。本文将以实际的代码入手,逐步介绍如何打造一款低开的平台。
低开概念我们不再赘述,但对于低开的前端来说,至少要有以下3个要素:
使用能被更多用户(甚至不是开发人员)容易接受的DSL(领域特定语言),用以描述页面结构以及相关UI上下文。
内部具有构建引擎,能够将DSL JSON构建为React组件树,交给React进行渲染。
提供设计器(Designer)支持以拖拉拽方式来快速处理DSL,方便用户快速完成页面设计。
本文我们首先着眼于如何进行构建,后面的文章我们再详细介绍设计器的实现思路。
对于页面UI来说,我们总是可以将界面通过树状结构进行描述:
1
2
3
4
5
1. 页面
如果采用xml来描述,可以是如下的形式:
1 2 3 4 5 6 <page > <title > 标题文字</title > <content > <input > </input > </content > </page >
当然,xml作为DSL有以下的两个问题:
内容存在较大的信息冗余 (page标签、title标签,都有重复的字符)。
前端需要引入单独处理xml的库 。
自然,我们很容易想到另一个数据描述方案:JSON。使用JSON来描述上述的页面,我们可以如下设计:
1
2
3
4
5
6
7
8
9
10
11
12
13
14
15
16
17
18
19
{ "type" : "page" , "children" : [ { "type" : "title" , "props" : { "value" : "标题文字" } } , { "type" : "content" , "children" : [ { "type" : "input" } ] } ] }
初看JSON可能觉得内容比起xml更多,但是在前端我们拥有原生处理JSON的能力,这一点就很体现优势。
回顾一下JSON的方案,我们首先定义一个基本的数据结构:组件节点(ComponentNode),它至少有如下的内容:
componentName 属性:表明当前组件节点的名称。children 属性:一个ComponentNode数组,存放所有的子节点。props :该元素的属性列表,可以应用到当前的组件节点,产生作用。
例如,对于一个页面(page),该页面有一个属性配置背景色(backgroundColor),该页面中有一个按钮(button),并且该按钮有一个属性配置按钮的尺寸(size),此外还有一个输入框(input)。
1
2
3
4
5
6
7
8
9
10
11
12
13
14
15
16
17
{ "componentName" : "page" , "props" : { "backgroundColor" : "pink" , } , "children" : [ { "componentName" : "button" , "props" : { "size" : "default" } } , { "componentName" : "input" } ] }
同时,我们需要设计一下组件节点属性props这个字段。考虑到DSL中的props最终将会送入到对应React组件的props,我们有必要进行一定的设计与处理来保证React接收到的正确性。首先,我们先假设,props里面的每一个prop属性对应的值目前只支持string、number字面量 (后续我们会设计表达式或者事件等,这里先简单设计)。也就是说,props的类型定义为:
1 2 3 4 5 6 7 8 9 10 11 12 export type ComponentNodePropType = string | number ;export interface ComponentNode {props : {propName : string ]: ComponentNodePropType ;
在我们的平台中,我们定义如下的结构:
1 2 3 4 5 6 7 8 9 10 11 12 13 14 15 16 17 18 19 20 21 22 23 24 export type ComponentNodePropType = string | number ;export type ComponentNode = {componentName : string ;props : {propName : string ]: ComponentNodePropType ;Array <ComponentNode >;
上文讨论了我们低开平台的DSL中关于组件节点的定义,但是DSL组件节点数据如果没有转换构建为UI组件并渲染在界面上,是没有任何意义的。我们必须要有构建引擎支持将JSON转换为web页面的内容。接下来我们将继续分析讨论如何完成ComponentNode到UI的转换处理。
首先,我们会有一个容器,来专门存放componentName与对应组件的构造方法(类组件、函数组件,甚至是一般的html组件字符串),就像如下的一个表:
1
2
3
4
5
6
7
8
9
10
11
12
13
14
15
16
17
18
import {Button , Input } from "antd" ;import React from "react" ;const Text = ({value}: { value: string | number } ) => {return <> {value}</> export const COMPONENT_MAP = {'page' : 'div' , 'button' : Button ,'input' : Input ,'text' : Text
当然,平台还设计了一个内置默认的组件名为"text"的文本节点。主要用于某些组件的子节点直接是一个文本内容的场景来进行映射:
1
2
3
4
5
6
7
8
9
{ "componentName" : "button" , "children" : [ { "componentName" : "text" , "props" : { "value" : "hello, button" } } ] }
接下来是实现我们的构建引擎(BuildEngine,叫引擎高大上)。构建引擎的核心功能是读取由DSL转为的ComponentNode,然后以递归深度遍历的方式不断读取ComponentNode及其子节点,根据ComponentNode对应的数据(譬如)componentName,从前面我们编写的COMPONENT_MAP中获取对应组件构造方法来将ComponentNode构建为一个又一个ReactNode。
代码如下:
1
2
3
4
5
6
7
8
9
10
11
12
13
14
15
16
17
18
19
20
21
22
23
24
25
26
27
28
29
30
31
32
33
34
35
36
37
38
39
40
41
42
import {ComponentNode } from "../meta/ComponentNode" ;import {COMPONENT_MAP } from "../component-map/ComponentMap" ;import React from "react" ;export class BuildEngine {build (componentNode : ComponentNode return this .innerBuild (componentNode);private innerBuild (componentNode : ComponentNode if (!componentNode) {return undefined ;const {componentName, children, props} = componentNode;const childrenReactNode =map ((childNode ) => {return this .innerBuild (childNode);const componentConstructor = COMPONENT_MAP [componentName];return React .createElement (length > 0 ? childrenReactNode : undefined
需要注意,这个Engine的公共API是build,由外部调用,仅需要传入根节点ComponentNode即可得到整个节点数的UI组件树(ReactNode)。为了后续我们优化内部的API结构,我们内部使用innerBuild作为内部处理的实际方法。
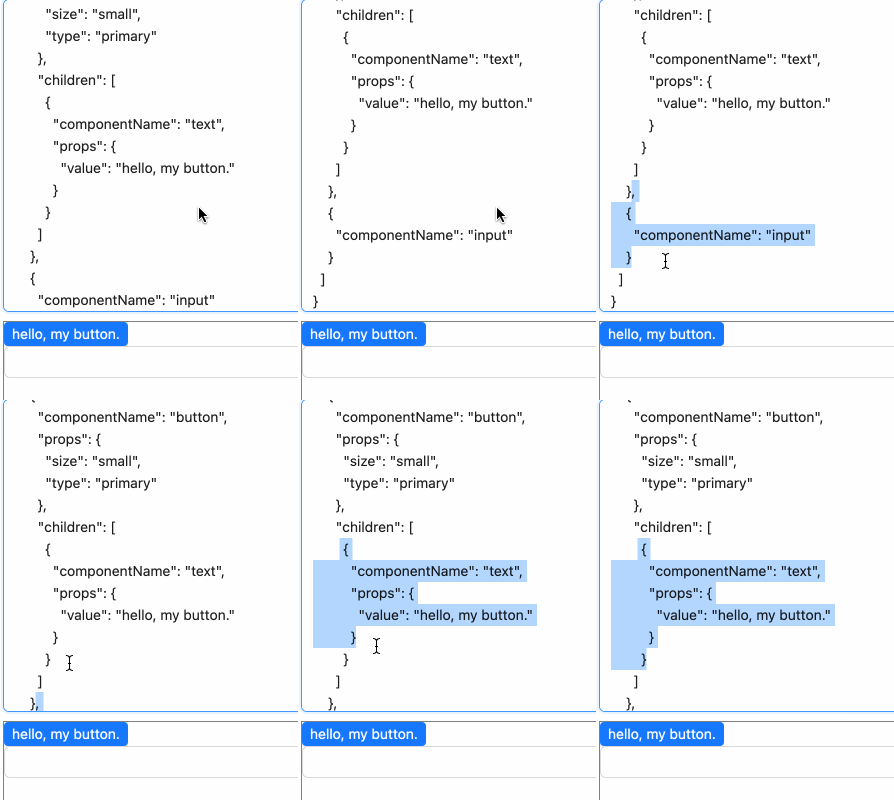
建立一个样例项目,编写一个简单的样例:
1
2
3
4
5
6
7
8
9
10
11
12
13
14
15
16
17
18
19
20
21
22
23
24
25
26
27
28
29
30
31
32
33
34
35
36
37
38
39
40
41
42
43
44
45
46
47
48
49
50
51
52
53
54
55
56
57
58
59
60
61
import {BuildEngine } from "@lite-lc/core" ;import {ChangeEvent , useState} from "react" ;import {Input } from 'antd' ;export function SimpleExample (const [buildEngine] = useState (new BuildEngine ());const [componentNodeJson, setComponentNodeJson] = useState (JSON .stringify ({"componentName" : "page" ,"children" : ["componentName" : "button" ,"props" : {"size" : "small" ,"type" : "primary" "children" : ["componentName" : "text" ,"props" : {"value" : "hello, my button." "componentName" : "input" null , 2 ))let reactNode;try {const eleNode = JSON .parse (componentNodeJson);build (eleNode);catch (e) {<div > JSON格式出错</div > return (<div style ={{width: '100 %', height: '100 %', padding: '10px '}}> <div style ={{width: '100 %', height: 'calc (50 %)'}}> <Input.TextArea rows ={4} value ={componentNodeJson} onChange ={(e: ChangeEvent <HTMLTextAreaElement > ) => { const value = e.target.value; // 编辑框发生修改,重新设置JSON setComponentNodeJson(value); }}/> </div > <div style ={{width: '100 %', height: 'calc (50 %)', border: '1px solid gray '}}> {reactNode} </div > </div > ); }
目前为止,我们已经设计了一个简单的构建引擎。但是还有两个需要解决的问题:
循环创建的ReactNode数组没有添加key,会导致React渲染性能问题。
构建的过程中,无法定位当前ComponentNode的所在位置。
我们先讨论问题2。对于该问题具体是指:我们希望能够记录每一个节点在整个树状的定位。
1
2
3
4
5
6
7
8
9
10
11
12
13
14
15
16
17
18
19
{ "componentName" : "page" , "children" : [ { "componentName" : "panel" , "children" : [ { "componentName" : "input" } , { "componentName" : "button" , } ] } , { "componentName" : "input" } ] }
对于上述的每一个type,都应当有其标志其唯一的一个key。可以知道,每一个元素的路径是唯一的:
page:/page
panel:/page/panel@0
第一个input:/page/panel@0/input@0。page下面有个panel(面板)元素,位于page的子节点第0号位置(基于0作为起始)。panel下面有个input元素,位于panel的子节点第0号位置。
button:/page/panel@0/button@1
第二个input:/page/input@1
也就是说,路径由'/'拼接,每一级路径由'@'分割组件名称componentName和index,index表明该节点处于上一级节点(也就是父级节点)的children数组的位置索引(基于0起始)。
那么,如何生成这样一个路径信息呢?只需要在build的遍历ComponentNode过程中记录即可,基于之前构建引擎的innerBuild的递归调用,现在只需要进行简单的修改方法:
1
2
3
4
5
6
7
8
9
10
11
12
13
14
15
16
17
18
// BuildEngine.ts代码- private innerBuild(componentNode: ComponentNode): ReactNode | undefined { + private innerBuild(componentNode: ComponentNode, path: string): ReactNode | undefined { - (children || []).map((childNode) => { - return this.innerBuild(childNode); - }); + (children || []).map((childNode, index) => { + // 子元素路径: + // 父级路径(也就是当前path)+ '/' + 子元素名称 + '@' + 子元素所在索引 + const childPath = `${path}/${childNode.componentName}@${index}`; + return this.innerBuild(childNode, childPath); + });
首先,我们修改了innerBuild方法入参,增加了参数path,用以表示当前节点所在的路径;其次,在生成子元素调用innertBuild的地方,将path作为基准,根据上述规则"${componentName}@${index}",来生成子元素节点的路径,并传入到的递归调用的innerBuild中。
当然,build内部调用innerBuild的时候,需要构造一个起始节点的path,传入innerBuild。
1
2
3
4
5
6
7
// BuildEngine.ts代码- return this.innerBuild(componentNode); + // 起始节点,需要构造一个起始path传入innerBuild + // 根节点由于不属于某一个父级的子元素,所以不存在'@${index}' + return this.innerBuild(componentNode, '/' + componentNode.componentName);
再回到innerBuild关于使用React.createElement的部分,考虑到现在已经有了path作为每一个组件唯一的路径标识。我们可以将该path作为每一个组件的key,让React创建元素的时候,将这个path作为key添加到组件实例上,进而解决Warning: Each child in a list should have a unique "key" prop.组件为一个key属性问题。相关改动代码如下:
1
2
3
4
5
6
7
// innerBuild中最后的返回ReactNode部分- {...props}, + {...props, key: path}, // 将path作为key
目前为止,我们设计了一套十分精简的根据DSL组件节点树转换为ReactNode的构建引擎,内部基于antd5组件的组件构建ReactNode,通过接收JSON遍历节点构建出ReactNode,再交给React渲染出对应结构的页面。该构建引擎需要考虑,React渲染时候元素的时候,需要一个唯一key来表示对应组件。本系列,我们由浅入深逐步建立整个低代码平台。下篇文章,笔者将开始介绍设计器Designer的实现。
本章内容对应代码已经推送到github上
w4ngzhen/lite-lc (github.com)
main分支与最新文章同步,对应章节将会有对应的tag来标识。
且按照文章里各段介绍顺序完成了提交:
1
2
3
4
5
modify: BuildEngine递归增加path标识组件唯一性,并作为key交给react创建ReactNode。

